Every photographer you meet will tell you how much work goes into the postproduction and editing of a photo shoot. When you don’t have a lot of time and just want to quickly polish a batch of photos, filter presets and brushes for your editing program can be a solution - using either your own or commercial ones. I normally don’t use filters for client work and am a bit skeptical of using commercial presets, but I often take landscape photos for fun and daily practice, and rarely get around to edit those properly. When Sleeklens asked me to review their Lightroom presets and brushes for landscape photography, I was curious to see what they could do.
First of all, Sleeklens presets and brushes come in a great variety and are easy to install in Lightroom or Photoshop. I picked three photos I took on my recent trip to the Lofoten in Norway and one in the park right outside my apartment in Berlin, all landscape, but very different in composition and look.
I wasn’t really happy with the original look and meddled around with different presets, until I found some I liked. With a quick click, you can combine different presets and brushes and, most importantly, adapt those settings if you want the changes to be more subtle or more extreme.
In the following examples you can move the sliders to see the difference.
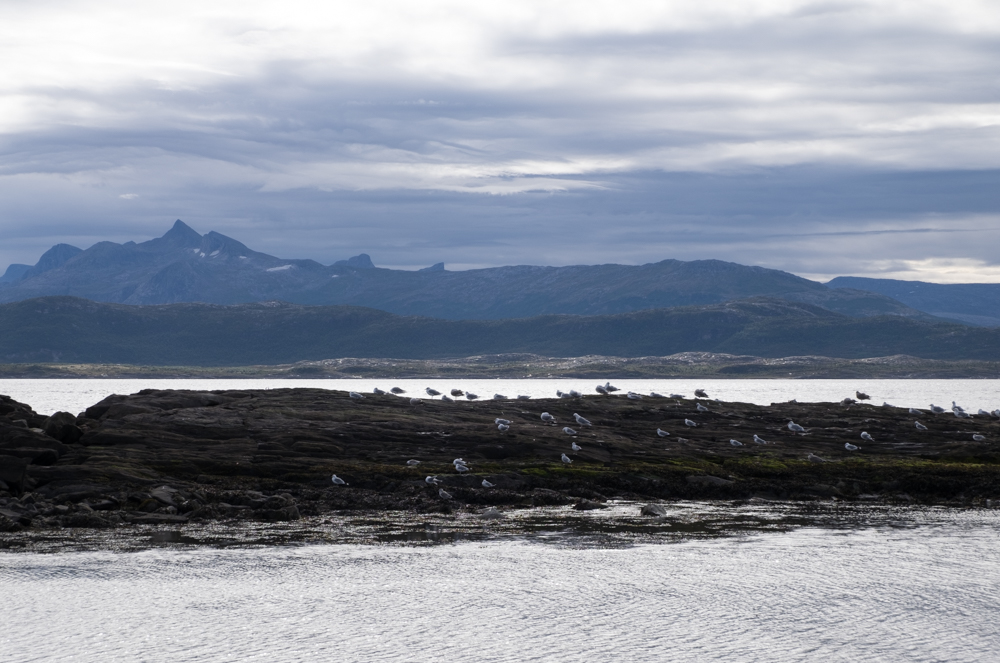
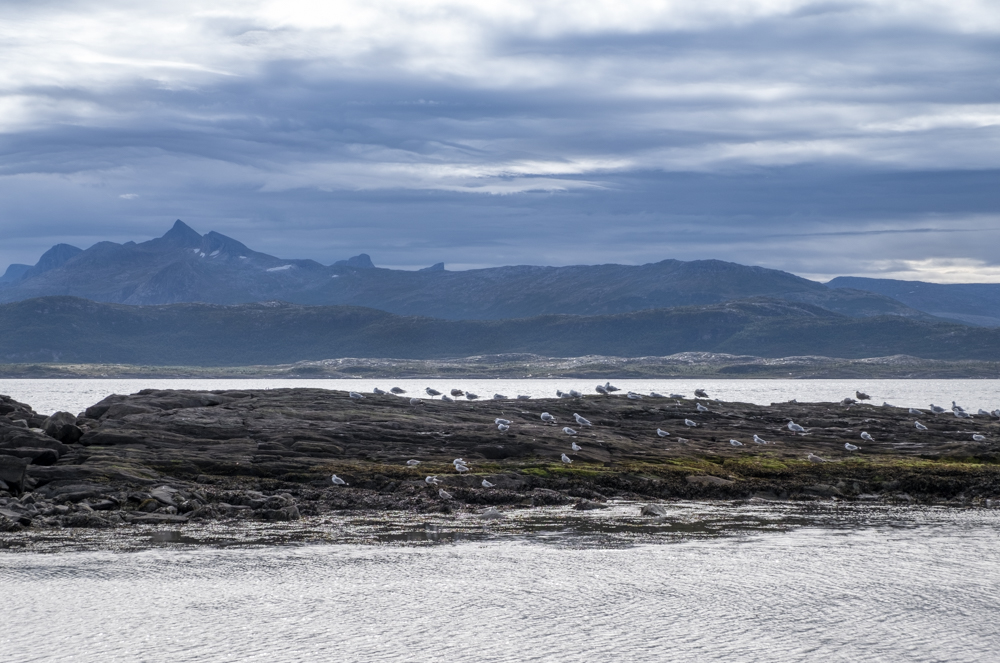
1. Seagulls in Bodø, Norway
Here, I wanted to change the lighting and give the picture a more dramatic feel without overdoing it. As a preset base I used "Basic Film", then added two color correct bases, "Deep Blue Skies" and "Reduce Blue", and for some final touches used the brushes "Subtle Clarity", "Add Golden Sun” and "Darken Shadows”. You might argue that I would have been faster to make those changes without any filters, but I was actually inspired by the look of the different presets you can scroll through and just adjusted a bit to keep the colours natural.
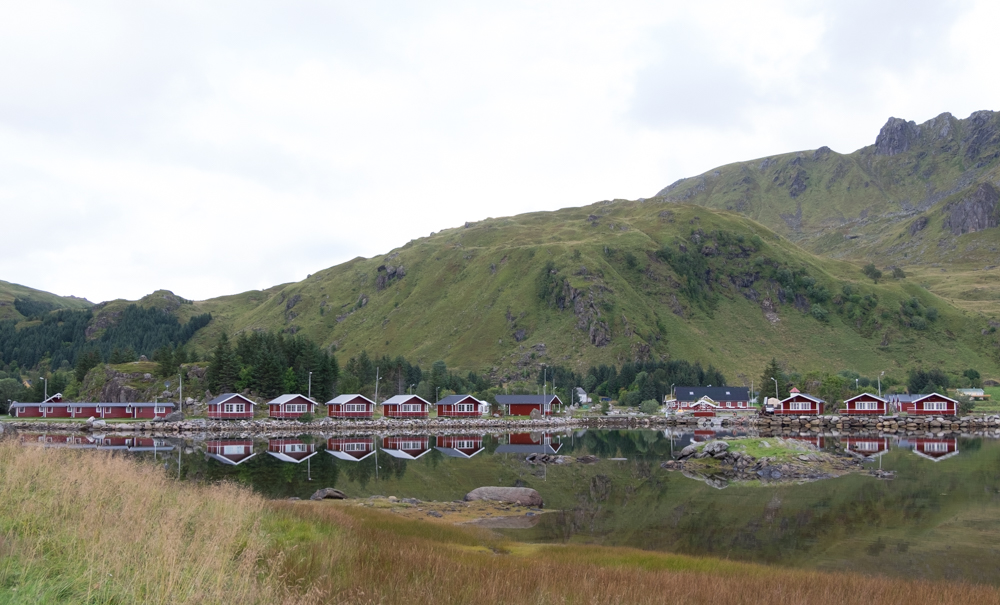
2. Norwegian houses on Lofoten islands
The day was really overcast and even though my Fuji is amazing with colours, the atmosphere didn’t quite translate in that picture; it seemed a bit dull. Here, I only made some really small changes, but to me, they had an incredible effect on the atmosphere of the picture. The preset base I used is "AutoTone (Color)" and “Desaturate” and I then adjusted the white clipping and vibrance settings.

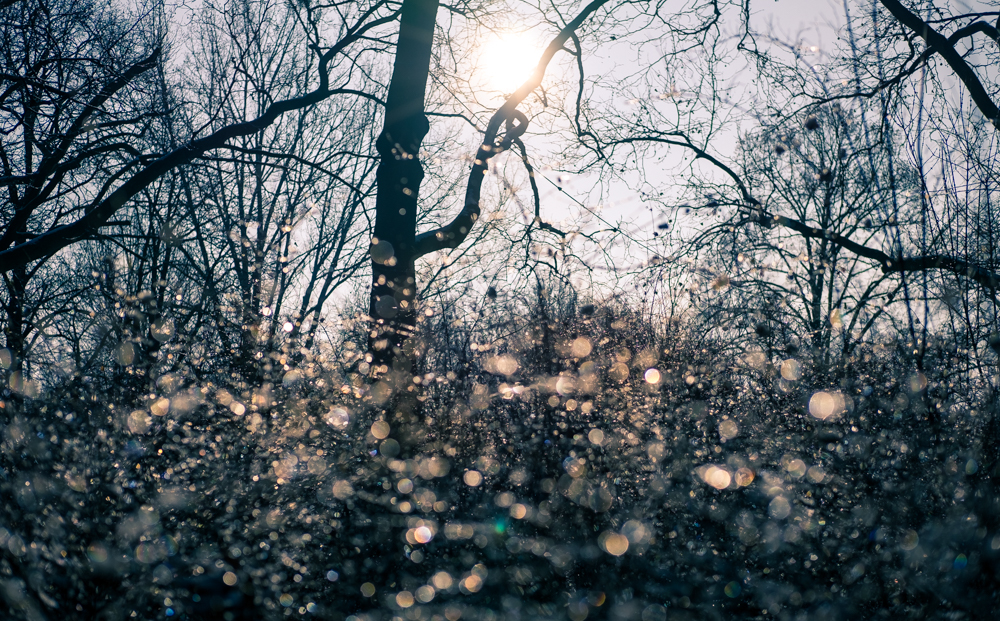
3. Thaw in the park
The bushes and trees in the park outside my apartment were full of tiny, thawing water drops, the ice was melting in the sun and I just had to get out and play around with direct light and reflection. Since I was shooting directly into the midday light, my results were almost without color and warmth, so I decided to regulate this with the brushes “AddGoldenSun,” “BrightShadeLight,” and “High Saturation”, and used the Cinematic preset for this one.

The only (constructive) criticism I would offer is that it would be good to include the names of the different brushes used in the Lightroom history (just like the preset names are included) - that will make it easier to jump between different versions and looks. In addition, Sleeklens also offers a variety of different gift certificate templates, especially useful for portrait or wedding photographers, that have a nice and classy look. If you know someone who would like some affordable filters that make the most of your pictures, give them a try.